Wednesday, 9 April 2014

Berry Stitcher's Purse, Magnetic Needle Rest and Needle Threader Holder

I added some hanging beads to the ensemble for no other reason than to make it pretty.


Tuesday, 8 April 2014

Berry Needle Threader

I find that I need more help threading my needle as I get older. 

Some time ago I bought a little red needle threader that also cuts thread. It is a great tool but there is no way to attach it to a bag. It is very small and it has a tendency to slip to the bottom and to get lost! 

I decided to solve the problem by making a tiny little purse to hold the needle threader which would hang from the loop inside the Berry Stitcher's Purse. 

I embroidered a little white flower and leaf on a tiny rectangle of linen. I used the same green thread for the outline and another pearl and handmade loop as a fastener. It is not much bigger than the Berry Magnetic Needle Rest that I showed you yesterday and so it is light enough to hang from the same gold plated loop. 


Monday, 7 April 2014

Berry Magnetic Needle Rest

I made a tiny magnetic needle rest by stitching a single berry in the centre of a small square of linen. I stitched a square around the berry in the same green as the squares on my needle organiser. 

I wanted something small enough to sit on my magnetic pattern holder without obscuring the pattern to hold the needle whilst I change threads. 


I added a gold plated loop and attached a piece of gold plated chain with a lobster clasp. This then attaches to the loop inside the Berry Stitcher's Purse when not in use. 


Friday, 4 April 2014

Berry Needle Organiser

I wanted something large enough to hold a set of gold needles in different sizes and other useful items such as safety pins and large eye needles out of sight.

I started with a large rectangle and folded it into quarters, lengthwise.   

In the first quarter I stitched the same berry sprigs facing each other to form the front and the back of the case. For the fold line I used the same four stitch finishing technique that I used on the purse and added another handmade fastener with a pearl and a handmade loop. 


For the inside I stitched a rectangle, a square and then another rectangle in rows of three.  On the fold line between the lines of squares I used the same four stitch. 

I decorated the first three squares with excerpts from the pattern. These are visible as soon as the needle organiser is opened. I stitched them for my precious gold needles. 


I left the remaining squares plain for my larger ordinary needles and safety pins. 


Thursday, 3 April 2014

Berry Pin Cushion

I made this matching pin cushion from the same linen using an extract from the pattern and some simple pulled thread work. 

I decorated the pins with semi-precious gem beads and pearlised seed beads. 


Wednesday, 2 April 2014

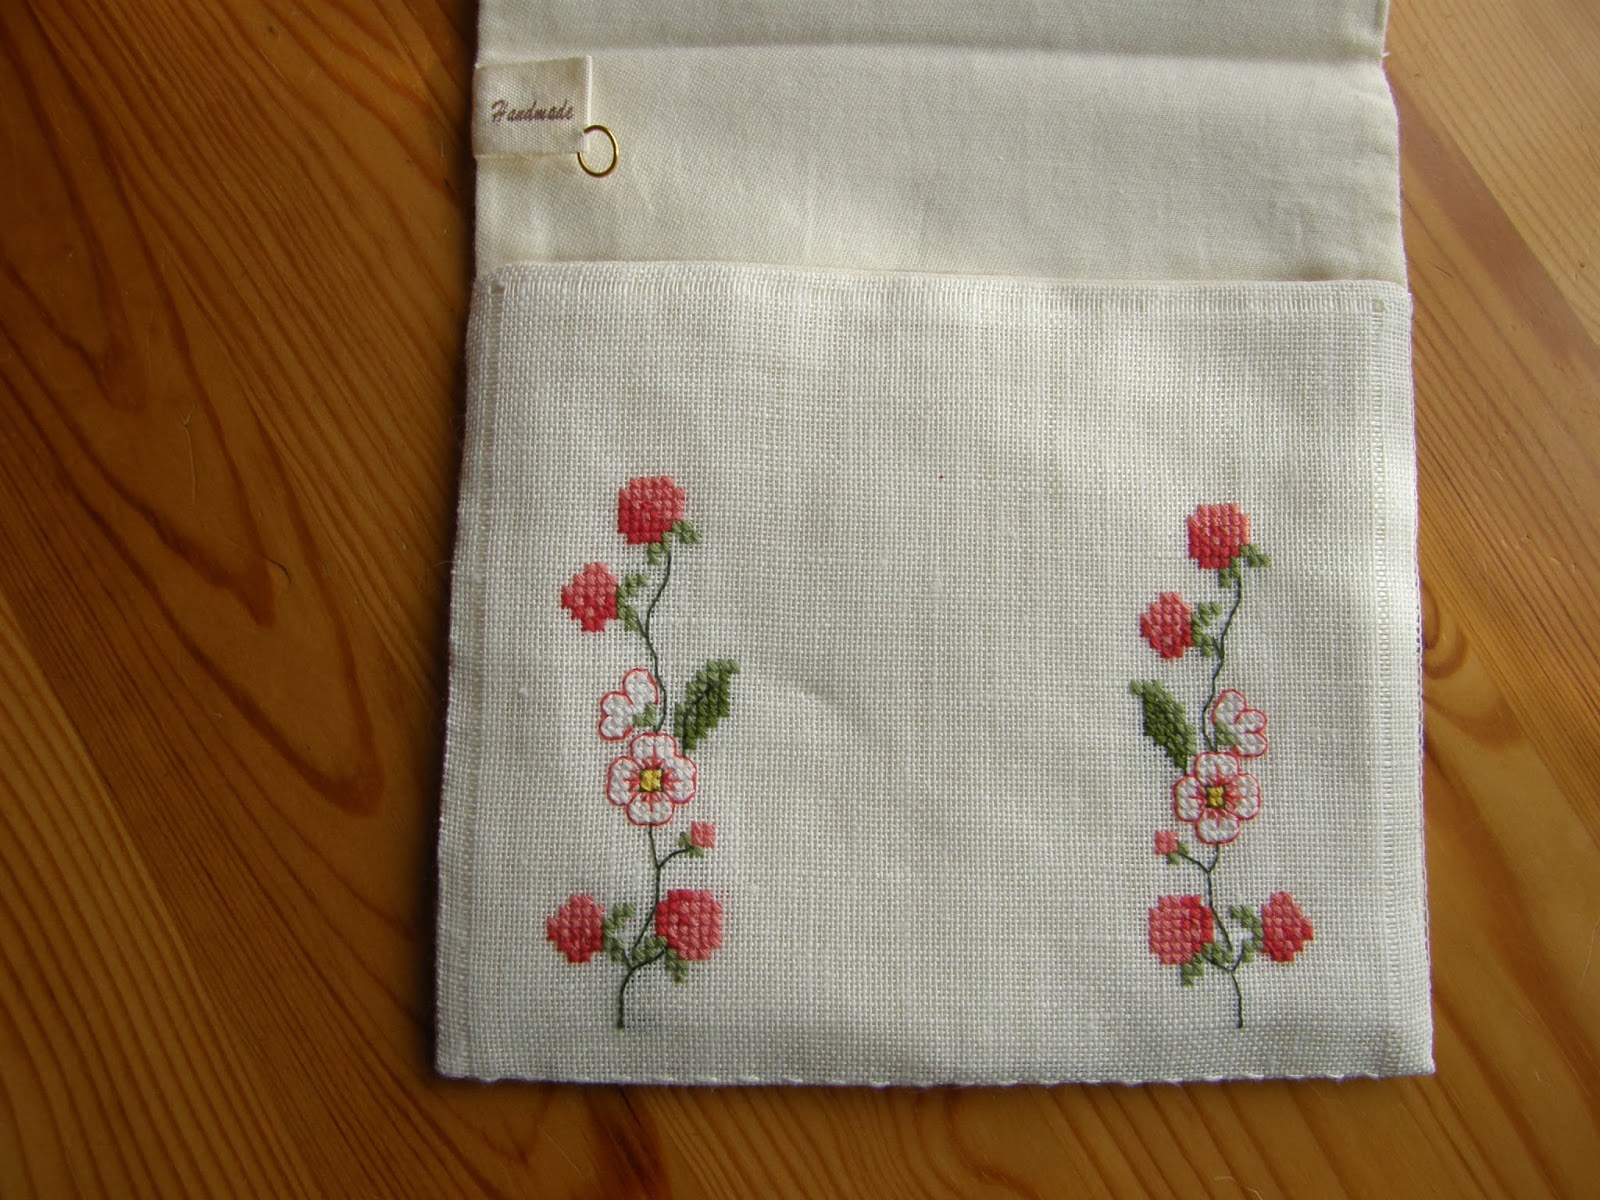
Inside my Berry Stitcher's Purse


This time I stitched the straight design. If you look carefully you'll see that the little flowers face in different directions.  

The bottom fold of the purse features a long stitch over four squares, then a gap of four squares. I picked up this little trick from a Jane Greenoff book on antique samplers. Thank you, I love this little finishing tip. 

I added a little hand stitched label inside and a gold plated loop. I've made some accessories to hang from this. I'll show you them later in the week.  


Tuesday, 1 April 2014

Berry Stitcher's Purse

I found this cute little berry pattern from Rico in my pattern stash. It has a circular centre piece and straight sprigs for the sides of a tablecloth. 

I decided to make a little sewing purse and to put the circular design on the front. 


This project is made from 30ct cream linen and the recommended DMC threads. I didn't change a thing!

I added a handmade loop and a pearl bead to keep the little purse closed. Four stitch along the fold lines provides the finishing touch that I like.